Video Analysis with DeepLabCut
Introduction
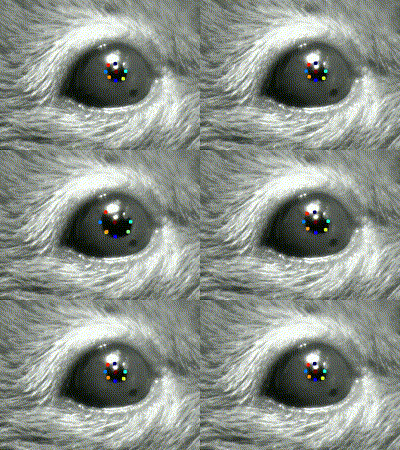
Pupil tracking with DeepLabCut (DLC) requires training of a network on a set of videos to recognize the pupil. Although we provide our own DeepLabCut network here (LINK), we strongly recommend training a new network tailored to each individual setup. New DeepLabCut networks can be based on our pre-trained network to facilitate the training process. A detailed description for training DeepLabCut networks has recently been provided by Nath and colleagues (2019).
More information on DeepLabCut on their website, the Nature Neuroscience paper and the Nature Protocols paper.
Basic instructions
Follow the instructions in the original protocol to install DeepLabCut and its dependencies.
Open Anaconda and start an IPython session within your DeepLabCut environment and import the package with the following command and press “Enter”:
import deeplabcut
Set the config path according to your config file location and press “Enter”.
config_path = 'path_of_the_config_file'
To analyze videos use the following command and indicate the path to the video files obtained earlier. To start the analysis press “Enter”.
deeplabcut.analyze_videos(config_path, ['path_of_video_to_be_analyzed'], save_as_csv=True)
Once all videos have been analyzed, labelled videos can be created for a visual assessment of performance using the following command and press “Enter”. This will generate the labelled videos and save them into the folder of the original MP4 videos.
deeplabcut.create_labeled_video(config_path, ['path_of_previously_analyzed_video'])
Continue with the ”.csv” files generated from the analysis previously. Make the folder containing these files the working directory of the R script PupillometryR.R change name of R Script if needed (see supplementary).
After running the R script you will obtain the “.mat” files required for the Pupillometry App. See more details in the “Pupillometry App user manual” or within pupillometry app directly.